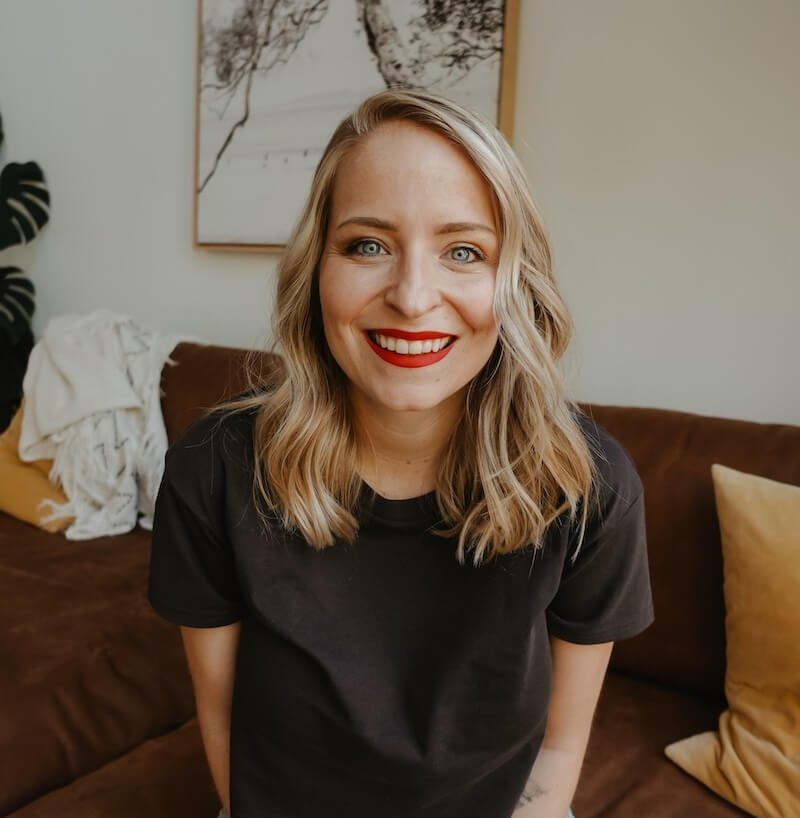
I'm Maggie Stara, I teach business owners how to use AI for social media marketing, and this is the walkthrough I'd give you if you sat down next to me with Canva open and no idea where to start.
The short version
You can build every kind of social media graphic in Canva without any design training: pick a template, swap in your own photo, apply your colours, and export. The only genuinely fiddly one is a seamless carousel, and that's just a custom canvas plus guides. Everything else in Canva is click, drag, done. Beginners get stuck on choosing, not on the software.
- Search Canva templates by keyword and industry, then filter by orientation and style, because the default results are far too broad to be useful.
- The three-dot menu on any template lets you apply just its colours, just its text or just its elements to a design you already have.
- A seamless carousel needs a custom canvas 1080 pixels wide per slide, so five slides is 5400 x 1350 pixels.
- Canva's own Image Splitter app cuts a seamless carousel into individual slides, which is a job I used to send people off-platform for.
- Instagram converts square and landscape video posts into Reels automatically, so design vertical at 1080 x 1920 from the start.
You can watch the whole thing below, or keep reading, both cover the same ground.
Jump to a bit of the video:
1:52 Create social media posts in Canva
9:28 Create carousels in Canva
11:05 Create advanced seamless carousels
21:11 Simple videos in Canva
25:52 Create Reels in Canva
What's the fastest way to make a social media post in Canva?
Start from a template, filter it hard, then change three things: the photo, the text and the colours. That's the whole workflow, and it takes about four minutes once you stop browsing.
When you search for an Instagram post in Canva, the results you get by default are enormous and completely unfiltered, which is exactly why beginners freeze. So narrow it before you look at anything:
- Search by industry, not just by format. "Real estate Instagram post" or "food Instagram post" gets you far closer than "Instagram post" ever will.
- Filter to portrait. It gives you more real estate in the feed, and vertical simply takes up more of someone's screen.
- Filter by style. Minimalist, bold, retro, whatever matches you.
- Filter by animated or video if you want movement rather than a flat image.
Then pick one, and don't agonise… you are going to change most of it anyway.
Once you're in the editor, uploading your own photo is the single biggest thing you can do to stop a template looking like a template. Upload it, then either click it to drop it onto the canvas or drag it straight into the frame you want it in. If the crop is wrong, double-click into the image and you can move and scale it inside its frame rather than resizing the frame itself. That distinction trips absolutely everyone up at the start.
The toolbar in Canva floats now. You won't see any options at all until you click on something, and then the options change depending on what you clicked. Click an image and you get editing, background removal, shapes. Click the background and you get colour. It feels odd for about ten minutes… and then it feels obvious.
How do you borrow a style you like without redoing your whole design?
Use the three-dot menu on any Canva template and choose "apply style to page", "apply text only", "apply colours only" or "apply elements". It copies just that one layer of the design across to what you've already built.
This is my favourite underused feature in the entire tool. Say you've got your layout sorted but the fonts are boring. Find a template with typography you love, three dots, apply text only, done… and you didn't have to rebuild a thing.
And it works with images from outside Canva too, which is the bit almost nobody knows. If you find a colour palette on Pinterest that you're obsessed with, screenshot it, upload the screenshot to Canva, then right-click it and choose apply colours to page. Canva pulls the colours out of the image and repaints your design in them.
Free plan note: you get one Brand Kit with three colours on Canva Free, so if you're juggling multiple brands, the apply-colours trick is a decent workaround.
What's the difference between a normal carousel and a seamless one?
A normal carousel is a multi-page Canva design where each page stands alone. A seamless carousel is one long image that gets chopped into slides, so a gradient or a photo runs continuously as the reader swipes.
You do not always need the fancy one. If your carousel is a cover image followed by four plain colour-block slides, individual pages are completely fine and a lot less work. Search "carousel" in Canva's templates and you'll get multi-page designs rather than single images. Hover over one and it'll show you all the pages inside it.
You'll also start noticing little crowns in the bottom right corner of some templates. Crown means Pro. No crown means it's free to use even on the free plan, though you might have to swap out an element or two.
The seamless version is worth the effort when you want an actual visual payoff as someone swipes: a gradient shifting from purple to pink across five slides, or an element that runs off the edge of one slide and picks up on the next.
How do you make a seamless Instagram carousel in Canva?
Build one wide custom canvas, add column guides so you can see the slide boundaries, design across the whole thing, then split it into individual images at the end.
Here's the maths, which is the part people find scary… and really shouldn't. An Instagram post is 1080 pixels wide. So your canvas width is 1080 multiplied by however many slides you want. Five slides is 5400 pixels. The height is 1350 for portrait, or 1080 if you're going square.
- Create a custom size design. 5400 x 1350 for a five-slide portrait carousel.
- Add guides. File, then Settings, then Add guides, then Custom. Set five columns with no gaps. Now you can see exactly where each slide starts and ends.
- Steal your layouts. Canva won't offer templates for a canvas this shape, so open a normal carousel template in another tab, select everything on a page, copy, and paste it into your first column.
- Fix the alignment problem. Canva doesn't know your columns exist, so it won't tell you when something is centred within a single slide. Press R to drop in a rectangle, size it to one column, send it to the back, then right-click and lock it. Now Canva's pink alignment lines snap to that rectangle instead of to the whole canvas.
- Do the background across the whole thing. This is the payoff. Add a gradient with two, three, however many colours and it flows across every slide. Or right-click a photo and choose replace background, and the image stretches the full width.
- Find and replace your text. Cmd+F on a Mac or Ctrl+F on a PC works inside Canva just like it does in a Word document. Templates are full of dummy text like "Really Great Site", and you can swap all of it in one go.
- Recolour in bulk. Change one white icon to black and Canva will ask whether you want to change all the white elements to black. Say yes… and it does the lot.
Do check your contrast as you go. Pale grey text on a pale gradient looks lovely in the editor… and is completely unreadable on a phone in daylight, which is a mistake I have absolutely made in public.
How do you split a seamless carousel into slides?
Canva has a built-in Image Splitter app that cuts your wide design into individual slides and adds them straight back into your design. When I filmed this video that didn't exist and I sent everyone off to Pine Tools, so this is one of the genuine upgrades since 2024.
Download your finished carousel as a PNG, run it through the Image Splitter with the number of blocks you want, and you'll get individual images ready to upload one by one.
One thing that hasn't changed: LinkedIn carousels need a PDF, not a set of PNGs. Export as PDF for LinkedIn and as separate images for Instagram.
How do you add movement to a flat graphic?
Swap the background for a video, or drop in an animated element from Canva's graphics library. Both take under a minute and both make a static post noticeably more interesting in a feed.
For the video background: go to Elements, search for the mood you want (beach, pool, city, whatever suits), then right-click the video and choose replace background. Click into it afterwards to reposition, exactly like you would with a photo.
For animated elements: go to Elements, search for something like "squiggle", then use the filter to show only animated results. Here's the bit worth knowing… if a colour swatch appears in the toolbar when you select an animated element, you can recolour it to your brand colours. If no swatch appears, you're stuck with the colours it came in. So when you're browsing, click a few and check for that swatch before you fall in love with one.
Where do you get free photos and videos if you're on Canva Free?
Use Pexels. It has hundreds of thousands of free photos and tens of thousands of free videos, and you can download them and upload them straight into Canva.
Canva's own library has a good number of free assets too, but the really nice video backgrounds are usually Pro. Rather than upgrade just for that, grab what you need from Pexels and bring it in.
Do check the licence before you use anything commercially. Pexels is free to use at the time of writing, but licences do change and it's your business on the line, not mine.
How do you turn a Canva design into an Instagram Reel?
Resize it to 1080 x 1920, mute any audio, trim it, and export as an MP4 at 1080p. Instagram will convert a square or landscape video post into a Reel whether you want it to or not, so you may as well design vertical from the start.
On the resizing: Canva Pro has Magic Resize, which reformats a design to Instagram Reel dimensions in one click and lets you resize just the page you want. On the free plan you copy everything on the page, create a new design at 1080 x 1920, and paste it in. It takes an extra thirty seconds… most of what Canva Pro buys you is speed rather than capability.
A few things I always do before exporting:
- Mute the audio on any stock video. You'll be adding a trending sound or a voiceover in Instagram anyway.
- Trim it. Short is fine. The example I built in the video is nine seconds long.
- Strip out the tiny decorative bits. Small elements that look great on a static square post just read as clutter on a Reel.
- Export as MP4 at 1080p, not as a GIF, so the quality survives the upload.
If you'd rather start from scratch, search Canva's templates for Instagram Reel. My favourite format is the tweet-style Reel: a quote card over a video background. Drop in your own footage, drop the transparency of the card so you can see yourself faintly behind it, swap the profile photo and the text for yours, and you're done. It's a really nice option if you're not confident speaking to camera yet but you do have some footage of yourself lying around.
What's changed in Canva and Instagram since I filmed this?
Four things, and two of them affect how you should size your designs.
- Instagram carousels now take up to 20 slides, not 10. Worth knowing before you do the width maths. One catch: third-party schedulers are still capped at 10 because that's Meta's API limit, not Instagram's, so anything over 10 has to go up from the app.
- The Instagram profile grid is no longer square. It previews posts at roughly 3:4 now, so a 1080 x 1350 post gets about 33 pixels trimmed off each side in the grid. Still upload at 1080 x 1350, but keep logos, faces and text inside a centred safe zone of about 1012 pixels wide.
- Canva's Image Splitter replaced my Pine Tools step. Same job, one fewer tab.
- The new Canva interface rollout is finished. In the video I kept saying "you might not have this yet". You have it now. The floating toolbar is just how Canva works.
Everything else in the video still holds, which is why I've left it up rather than refilming again.
Do you actually need Canva Pro?
Not to start. The free plan will make you every design in this post. What Pro buys you is speed and a bigger asset library, not the ability to do things you otherwise couldn't.
As of August 2026, the free plan gives you one Brand Kit with three colours, 5GB of storage and unlimited folders. What sits behind Pro is Magic Resize, one-click background removal, the full Magic Studio AI set, the premium stock library and 1TB of storage.
My honest advice: make ten posts on the free plan first. If you find yourself doing the same manual workaround over and over, that's your signal to upgrade. If you don't… you've saved yourself a subscription.
Is there a free Canva course for beginners?
Yes, and it's mine. In 2025 I filmed a complete free Canva course, an hour and a half start to finish, that covers everything on this page in far more depth plus a good deal that isn't here at all.
This post is the quick version. The course below is the one where I sit next to you and go through the whole thing properly, starting from "what even is this screen" and ending with you downloading a finished animated post.
Jump to a bit of the course:
0:49 Get to know your Canva space
9:40 Choose your Canva template
16:05 Get to know the Canva editor
28:05 Add elements to your design
41:21 Add extra flair to your design
54:35 Animate your Canva design
1:04:04 Create your video post
1:17:01 Download and share your design
1:26:03 Canva Pro versus Canva Free
There's a free course guide PDF that goes with it, so you're not trying to scribble notes while you follow along.
Where should you start?
Make one post. Not a strategy, not a template library… one post. Pick a portrait Instagram template, swap in a photo of yourself or your work, apply your colours, and put it out.
The seamless carousel can wait until you've done that fifteen or twenty times and the editor feels like second nature. There's genuinely no rush, and the worst thing you can do is spend three weeks learning Canva instead of three weeks posting.
If you want to keep going past this, I have a dedicated Canva course that more than 50,000 students have been through, covering everything from Instagram Stories and business cards to turning yourself into a GIF. And if you're still working out what you should be posting in the first place, my free personalised marketing plan is probably a better next step than more design practice.
It's also worth reading my seven-step plan for social media marketing beginners alongside this one, since design is only useful once you know what you're designing for. And if the planning side is what's eating your time, using AI to build your social media strategy pairs nicely with everything here.
Go and make something ugly. Mine were terrible for years and it worked out fine.
Originally published September 2024, updated August 2026.